#How to Find Your IP Address on Windows 11
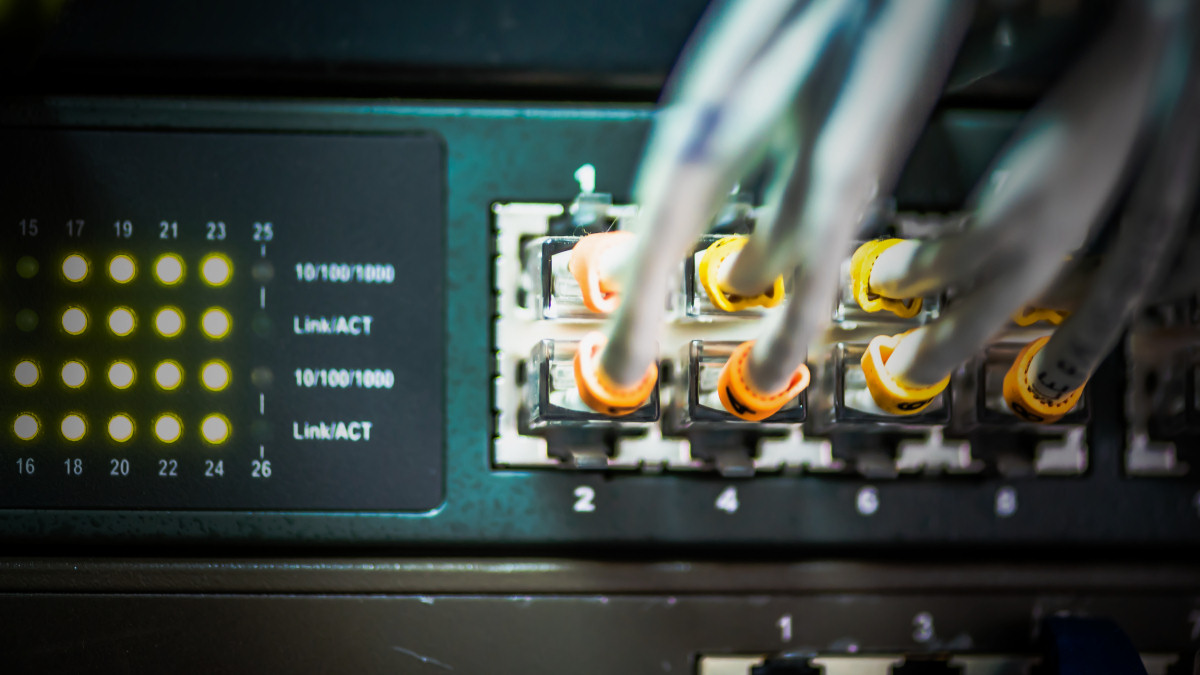
Table of Contents
“#How to Find Your IP Address on Windows 11”

Sometimes, you need to know your network IP address while using Windows 11, but it’s not obvious how to see what it is. Here are two good ways to quickly find out.
Understanding External vs. Internal IP Address
Before seeking out your IP address, it’s important to know which kind of IP address you’re trying to find. For our purposes, there are two main types of IP address: external and internal.
Your external IP address (also known as your “wide area network” or WAN address) is the address that you present to the outside world while using the internet. It’s shared between all the devices on your local network. It’s also the IP address that others would use to connect to your computer through the internet.
Your internal IP address (or LAN address) is an address assigned to you by your local router or broadband modem. Using dynamic DNS, many routers automatically assign IP addresses, such as 192.168.1.100, to devices on your local network. This address isn’t seen by the outside world and is only used on your local area network (LAN) within your home, school, or business.
RELATED: What Is A Wide Area Network (WAN)?
How to Find Your External IP Address
The easiest way to find your external (WAN) IP address is by using a web browser. To do so, open your favorite browser (such as Edge, Chrome, or Firefox) and visit the http://ifconfig.me website.
When the page loads, look under the “Your Connection” section. The number listed beside “IP Address” is your external IP address. For example, it might be something like “55.777.777.222.”

Your IP address will be different from the example shown above, of course.
It’s safe to use this method because every website sees your IP address whenever you visit it anyway. This particular website just shows that information back to you, which can help with network troubleshooting.
You can also find your external IP address in your router’s configuration utility, which is usually accessed through a web browser. To use that, you’ll need to consult your particular router or modem’s documentation.
RELATED: Beginner Geek: How to Configure Your Router
Find Your Local IP Address in Windows Settings
To find your local IP address, you can use a few different techniques in Windows 11. One of the easiest ways to do so is by using the Settings app.
To start, first, open Windows Settings by pressing Windows+i on your keyboard. Or, you can search for “settings” in the Start menu and click its app icon. When it opens, click “Network & Internet” in the sidebar.

In Network & Internet settings, you’ll see your primary internet connection listed near the top of the window. Click “Properties” beside the network connection name.

On your network connection properties page, scroll down and locate the information section near the bottom. Beside “IPv4 Address,” you’ll see your local IP address in IPv4 format (such as “192.168.1.90”), and your IPv6 address will be listed just above your IPv4 address.

If you need to share this information with others later, click the “Copy” button beside the network information section, and it will be placed in your Windows Clipboard. You can then paste it as text somewhere else (such as in a message or email) to share it later.
Find Your IP Address Using the Command Prompt
You can also find your local IP address quickly in Windows 11 on the command line. One way to quickly get a command prompt is by right-clicking the Start button and selecting “Windows Terminal” from the list.

When Windows Terminal opens (with either PowerShell or Command Prompt, depending on your preferences), type ipconfig on a blank line and hit Enter. This runs Windows 11’s built-in command-line network utility.

After running ipconfig, you’ll see a list of all the network adapters that you have in your machine, including Wi-Fi and Ethernet connections.
Locate a section labeled something similar to “Ethernet adapter Ethernet” or “Wireless LAN adapter Wi-Fi” that has many entries listed beneath it. You’ll find your local IPv4 and IPv6 address listed there under “IPv4 Address” or “Link-local IPv6 Address.”

If you need to copy an IP address down, select it with your mouse and press Ctrl+c to copy it to the Clipboard. You can paste it somewhere else later to store or share it. When you’re done, close the Windows Terminal window, and you’re all set. Good luck!
RELATED: What Is IPv6, and Why Does It Matter?
If you liked the article, do not forget to share it with your friends. Follow us on Google News too, click on the star and choose us from your favorites.
For forums sites go to Forum.BuradaBiliyorum.Com
If you want to read more like this article, you can visit our Technology category.