#How to Edit Your Hosts File on Windows, Mac, or Linux
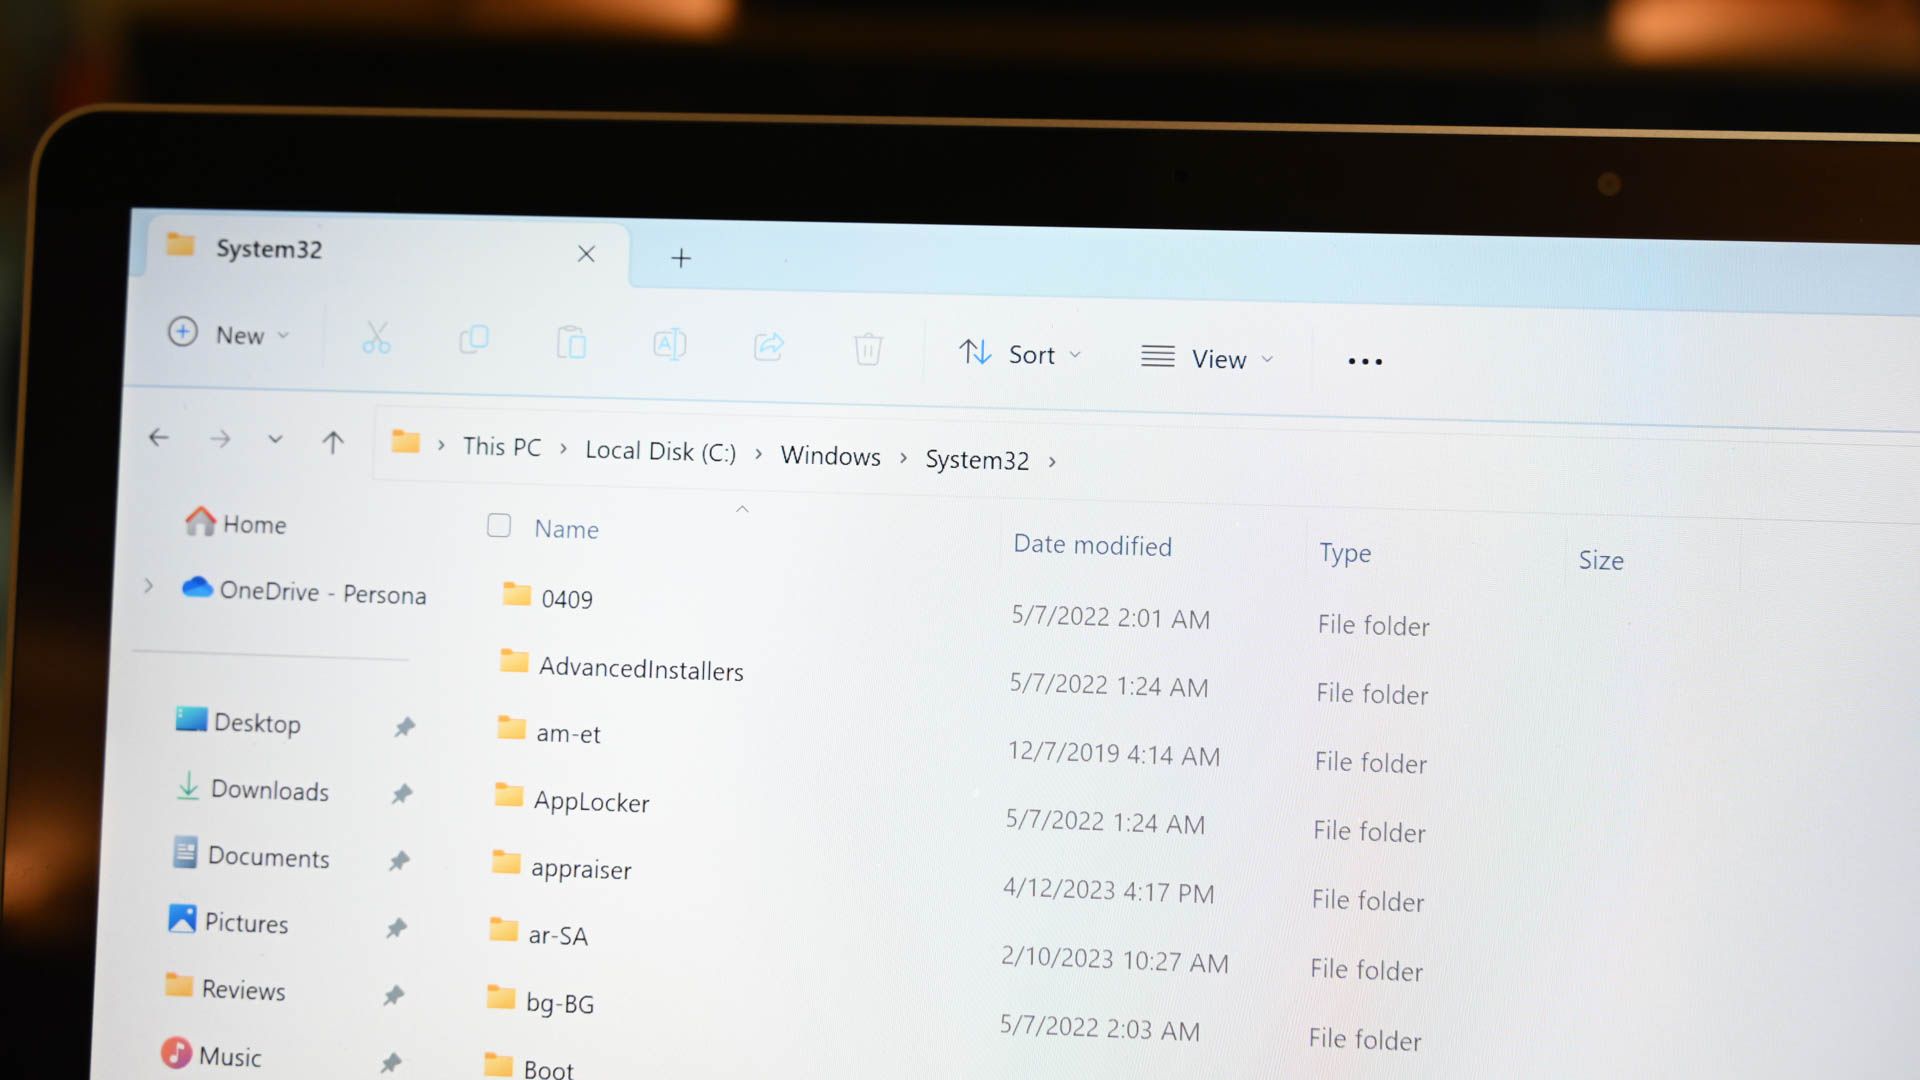
Table of Contents
Key Takeaways
Occasionally you may need to edit the hosts file on your machine. Your host file might have been edited maliciously in an attack, or as a prank. Alternatively, you may just want to control access to certain websites or control network traffic.
What is the Hosts File Used For?
The hosts file was used to resolve host names for decades before the DNS system was implemented, since way back in the ARPANET days. Since they were used to aide in network name resolution, hosts files grew to become massive documents.
Microsoft, Apple, and other operating system developers have kept the hosts file around, which is why it varies very little between Windows, macOS, and Linux. The syntax stays mostly the same across all platforms. Most hosts files will have several entries for loopback. We can use that for the basic example for the typical syntax.
The first part will be the location to redirect the address to, the second part will be the address that you will want to redirect, and the third part is the comment. They can be separated by a space, but for ease of reading are typically separated by one or two tabs, or the equivalent amount of spaces. The general format is:
(IP Address) (URL) #(Comment)
As a specific example for the loopback address:
127.0.0.1 localhosts #loopback
Now let’s look at accessing the hosts files in different operating systems.
Editing the Hosts File on Windows 10 or Windows 11
The hosts file is still present in the latest and greatest from Microsoft — Windows 10 and Windows 11 — despite being ancient by computer standards. It isn’t used much in in modern Windows networking, however.
The Windows hosts file, like other files that can be found in the Windows folder, is protected. You need administrative privileges to move, edit, or delete the file.
You can use any plain text editor you want to modify the hosts file, however Notepad is perfectly adequate for the task. You don’t need to go download another one just for this job.
Hit the Start button, type “notepad” into the search, and then right-click it and hit “Run as Administrator.”

Click on “File” in the top left corner, hit “Open,” and then navigate to the Windows hosts file’s location:
C:\Windows\System32\drivers\etc
Make sure to change the select to “All Files (*.*)” rather than “Text Documents (*.txt).” The hosts file doesn’t have a file extension, so it won’t show up if you’re only displaying text documents. After you change that setting, locate the “hosts” fileand click open.

You can then edit the hosts file however you’d like. There are a few obvious things to do with it, like block or reroute internet traffic.
Editing the Hosts File on Windows 8 or 8.1
Editing the hosts file on Windows 8 and 8.1 is basically the same as Windows 10 or 11.
Just search for Notepad, right-click on Notepad in the search results list, and then choose “Run as Administrator.

Once you’ve opened Notepad, click “File” in the top right, click “Open,” and then navigate to the /etc/ folder:
C:\Windows\System32\drivers\etc\hosts

You’ll be able to edit the hosts file like you would any other file. You can use it to block access to websites, if you want.
Windows 7
Accessing the hosts file in Windows 7 is the same as on newer versions of Windows. You need to run Notepad as administrator, navigate to the hosts file, and then open it up.
There are a few ways you can do this. The first is to find Notepad, right-click it, hit “Run as Administrator,” and then navigate to the hosts file. It is located at:
C:\Windows\system32\drivers\etc\
Alternatively, you can hit Windows+R to open up a Run window, and then enter the following command:
notepad c:\windows\system32\drivers\etc\hosts
![sshot-2010-08-31-[19-41-19]](https://static1.howtogeekimages.com/wordpress/wp-content/uploads/2010/08/sshot20100831194119.png?q=50&fit=crop&w=750&dpr=1.5)
The command will run Notepad as administrator and automatically open the specified file.
Once notepad is open you can edit the file. In this example we will block Facebook. To do this just enter in the following after the # mark.
0.0.0.0 www.facebook.com
![sshot-2010-08-31-[20-51-49]](https://static1.howtogeekimages.com/wordpress/wp-content/uploads/2010/08/sshot20100831205149.png?q=50&fit=crop&w=750&dpr=1.5)
Now that you have edited your Hosts file make sure to save it.
![sshot-2010-08-31-[20-54-07]](https://static1.howtogeekimages.com/wordpress/wp-content/uploads/2010/08/sshot20100831205407.png?q=50&fit=crop&w=750&dpr=1.5)
Now notice if we try to access Facebook in IE we can’t get to the page.
![sshot-2010-08-31-[20-56-44]](https://static1.howtogeekimages.com/wordpress/wp-content/uploads/2010/08/sshot20100831205644.png?q=50&fit=crop&w=750&dpr=1.5)
We also were not able to get to it in Google Chrome… (check notes at the end). Also for more info on editing your Hosts file, check out The Geek’s article on how to create a shortcut to quickly edit your Hosts file.
![sshot-2010-08-31-[21-04-27]](https://static1.howtogeekimages.com/wordpress/wp-content/uploads/2010/08/sshot20100831210427.png?q=50&fit=crop&w=750&dpr=1.5)
Edit The Hosts File On Ubuntu
In Ubuntu (and most Linux distributions) you can edit the hosts file directly in the Terminal. You can use your favorite command-line editor or your favorite GUI text editor. For this example we will use Vim, since it is one of the traditional text editors in Linux. Ubuntu’s hosts file location is the /etc/ folder. The hosts file is protected, much like in Windows, and your regular user account will not be able to edit it.
You’ll need to launch Vim prefaced by sudo, which is conceptually and functionally similar to “Run as Administrator” on Windows operating systems. Open up a Terminal, then enter:
sudo vim /etc/hosts
You’ll need to enter your password before the command will execute.

Now that it is open we can edit it to redirect Facebook into nothing. You will notice that with Ubuntu there is also a section for IPv6.
You can ignore the IPv6 section in most cases; just editing the IPv4 section should do what you need.

Now we can save the file and try to go to Facebook.com. When you set the address in the hosts file to 0.0.0.0, your computer can’t reach Facebook, and throws an error: “Unable to Connect.”

Change the Hosts File on Any macOS Version
In macOS, accessing the hosts file is very similar to Ubuntu. Begin in terminal and use your favorite editor — it could even be a GUI-based text editor if you wish, but it is easier to use a command-line editor from the Terminal.
The hosts file on macOS is located in /etc/ just like on Linux.

The file will look a lot like the hosts file found in Windows and Linux. Again we are going to redirect Facebook to 0.0.0.0.

Safari, just like a browser on Windows and Ubuntu, will be unable to connect to Facebook.

Why Isn’t The Hosts File Blocking Connections?
All of the major modern browsers offer DNS Over HTTPS (DOH). DOH encrypts your DNS requests so that they can’t be intercepted and read by third parties that might be snooping — in general, this is a great thing.
For our purposes here, it limits the utility of the hosts file. The hosts file can only be used to block internet traffic if your browser is deferring to the DNS Server specified in the Windows operating system. A lot of browsers will enable DNS Over HTTPS automatically and use their own DNS servers. That results in the browser completely bypassing the hosts file. It is possible to force your browser to use the DNS Server Windows specifies, but you’ll have to dig through your browser’s settings.
This should get you started in understanding the Hosts file and how it can help protect your computer. Under the right circumstances, you can use it to block sites that you don’t want a PC to be able to access.
If you liked the article, do not forget to share it with your friends. Follow us on Google News too, click on the star and choose us from your favorites.
For forums sites go to Forum.BuradaBiliyorum.Com
If you want to read more like this article, you can visit our Technology category.