#Getting Started With Podman Desktop, an Open Source Docker Desktop Alternative
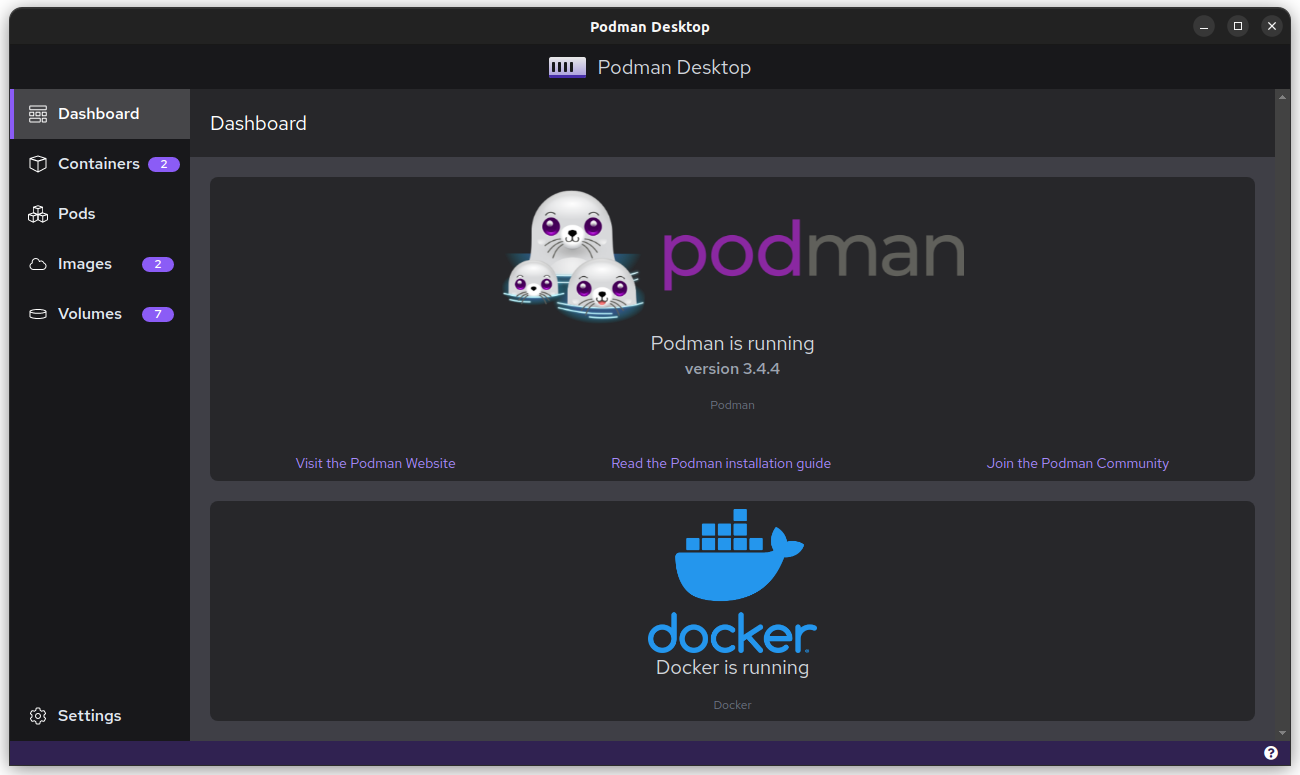
Table of Contents
“Getting Started With Podman Desktop, an Open Source Docker Desktop Alternative”
In this article, you’ll learn how to install and get started with Podman Desktop to run containers and deploy to Kubernetes. The experience will be familiar if you’ve previously used Docker Desktop but it should also be quick to pick up anew.
What Is Podman Desktop?
Podman is an OCI container engine that you can use instead of Docker. The Podman CLI is intentionally similar to Docker’s; you can convert most commands by simply substituting podman instead of docker, such as podman run and podman push.
Podman Desktop is an official graphical interface for Podman’s functionality. In addition to wrapping the Podman CLI, it bundles extra features including Kubernetes integration and third-party extensions. You can use Desktop to conveniently interact with containers and related resources on your workstation, if you want to avoid running terminal commands.
Getting Started
Make sure you’ve got the regular Podman CLI installed before you start using Podman Desktop. Desktop needs to detect the CLI to manage your containers. You can find detailed installation instructions in the Podman docs.
Next, download the latest Podman Desktop release from the project’s website. Alternatively, use one of the following commands to install using your system’s package manager:
- Windows –
winget install -e --id RedHat.Podman-Desktop - macOS –
brew install podman-desktop - Linux –
flatpak install --user flathub io.podman_desktop.PodmanDesktop
Now you can launch Podman Desktop. You should see Podman is successfully detected. The homescreen will also display any other container environments available on your system, such as a Docker Engine installation.

Exploring Podman Desktop
Podman Desktop’s interface is split into five main sections which you can switch between using the left sidebar. There’s also a separate Settings menu, accessed at the bottom of the sidebar, where you can configure your container engines, enable HTTP proxies, and supply image registry credentials.
Running Containers
The Containers tab is where you’ll spend most of your time. It displays all the containers that exist in your environment. To create a new container, press the purple “Create container” button in the top-right.

You’ll be prompted to choose between building a Containerfile or Dockerfile, or starting a container from an existing image:
If you choose “From Containerfile/Dockerfile”, you’ll need to select the path to your file by clicking in the “Containerfile path” input on the next screen. You can use any existing Dockerfile; the Containerfile terminology is simply a more generic alternative. Supply an initial tag for your image in the “Image Name” field, then press the “Build” button to build your image.
The build command’s output will be shown in an embedded terminal window. Click the Done button to continue. You’ll be taken to the Images screen where your new image will be displayed. If you opt not to build a new image, you’ll land on the Images screen after you press the “From existing image” button in the container creation dialog.
Next, hover over any image and click the play button that appears on the right side of the screen:
Now you can configure the properties of your new container instance. Assign a name for your container, mount any volumes you require, and set environment variables on the “Basic” tab:
The Advanced tab lets you attach a TTY, set the user that the container runs as, and change the restart policy that’ll apply:
Networking configures the container’s network stack, including its hostname, /etc/hosts file entries, and DNS configuration:
Finally, the Security tab lets you activate privileged mode (if you know you require it), modify the container’s kernel capabilities, and specify a read-only filesystem if you expect an immutable environment:
Once you’re done configuring your container, click the purple “Start Container” button at the bottom of the screen to run it. It’ll show up back on the Containers screen.
Managing Containers
Hovering over containers reveals actions that let you stop or delete them. You can also use the checkboxes on the left side to select multiple containers and apply actions in bulk.
Clicking the three dots button on the far right reveals an overflow menu with more options. Here, you can immediately restart your container, or quickly launch a terminal session.
Click any container to view its details. This yields a tabbed interface where you can access the container’s logs, podman inspect output, and terminal session.
Managing Images
Images are managed in a similar way. Click any image to access its details, including its podman inspect output and layer history.
Click the “Pull Image” button in the top-right of the Images screen to pull a new remote image into your environment. You’ll be prompted to enter the image you want to pull, such as ubuntu:latest or registry.example.com/private-image:v1.
Podman will download the image when you press the “Pull Image” button. Progress is displayed in an inline terminal window.
To use images in private registries, you need to set up authentication credentials first. Press the “Manage Registries” button on the Pull Image screen, or navigate to Settings > Add Registries, then press the “Add registry” button in the bottom right. Enter your registry’s hostname and supply your username and password. Click the Login button to authenticate.
Managing Volumes
The Volumes screen provides an overview of all the persistent volumes you’ve created, including their age and total size:
Clicking a volume reveals its podman inspect output:
You can delete a volume by clicking the button in the top-right.
Using Kubernetes
Podman has integrated Kubernetes support. This is surfaced in Podman Desktop’s Pods screen. Pods in Podman are equivalent to Kubernetes Pods, being a collection of multiple containers that are grouped together. To deploy a Pod, click the “Play Kubernetes YAML” button in the top-right.
Supply the path to your YAML file on the screen that appears:
You can use this simple Pod manifest if you don’t have one available:
apiVersion: v1
kind: Pod
metadata:
  name: nginx
spec:
  containers:
    - image: nginx:latest
When you click the “Play” button, Podman will deploy the Pods defined by your manifest. The created Pod IDs are shown in the embedded terminal window’s output.
You’ll now see your Pod appear on the Pods screen:
Pods are still containers running in Podman. To deploy to a real Kubernetes cluster, expand the Pod’s three dots menu and select the “Deploy to Kubernetes” action.
On the next screen, choose whether to replace hostPort bindings with Kubernetes services. This is safer as it prevents Pods being directly bound to ports on your cluster’s Nodes. Click “Deploy” to launch your Pod into your active Kubernetes cluster, as defined by your ~.kube/config file. You can choose a different cluster connection in the settings menu.
Podman Desktop incorporates convenience features for moving between local containers and Kubernetes clusters. The “Kube” tab on the container details screen provides an auto-generated Kubernetes YAML file for any container in your environment, allowing you to deploy without manually writing manifests.
Installing Extensions
Podman Desktop supports most Docker Desktop extensions so you can add custom functionality. Extensions are distributed as container images with specially prepared content. You can find them on Docker Hub by filtering to the Extension content type.
Once you’ve found an extension you’d like to use, add it to Podman Desktop by heading to Settings > Desktop Extensions. Paste the extension’s image name into the input field, then press the “Install extension from the OCI image” button. The installation logs will be shown below.
The extension’s UI will then be available back in the main Podman Desktop interface, under the Extensions sidebar item.
Summary
Podman Desktop is a graphical tool for managing Podman container environments. You can interact with the containers, images, and volumes on your machine, deploy Kubernetes manifests, and monitor logs, all within a single interface. Podman Desktop’s also compatible with Docker Desktop extensions so you can access additional integrations developed by the wider container ecosystem.
These capabilities mean Podman Desktop can often be used as a drop-in replacement for Docker Desktop. You’ll need to stick with Docker if you rely on its collaboration, enterprise management, and development environment functions, though. Podman doesn’t offer anything comparable to these, instead focusing on offering a fast, light, and open container experience.
If you liked the article, do not forget to share it with your friends. Follow us on Google News too, click on the star and choose us from your favorites.
For forums sites go to Forum.BuradaBiliyorum.Com
If you want to read more like this article, you can visit our Technology category.