#Remove Share with Skype from Context Menu in Windows 10
Table of Contents
“#Remove Share with Skype from Context Menu in Windows 10”
When installed, Skype (its both Store and Desktop versions) adds a Share with Skype context menu command. If you find no use for that command, you may want to get rid of it. Today we will see how it can be done for both Store and classic Desktop app.
RECOMMENDED: Click here to fix Windows errors and optimize system performance

The new Skype app has a very streamlined user interface. It follows the modern trend of flat minimalist design with glyph icons and no borders anywhere. This design is being used in all other Microsoft products. As you may remember, some time ago Microsoft had switched to Electron for Skype.
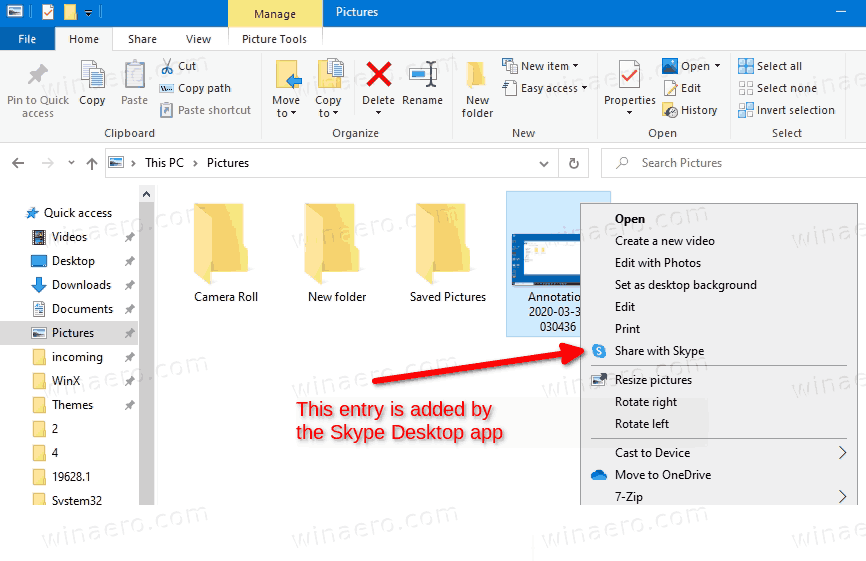
Starting in Skype 8.59, it is now possible to share files from File Explorer. The appropriate option appears in the context menu.
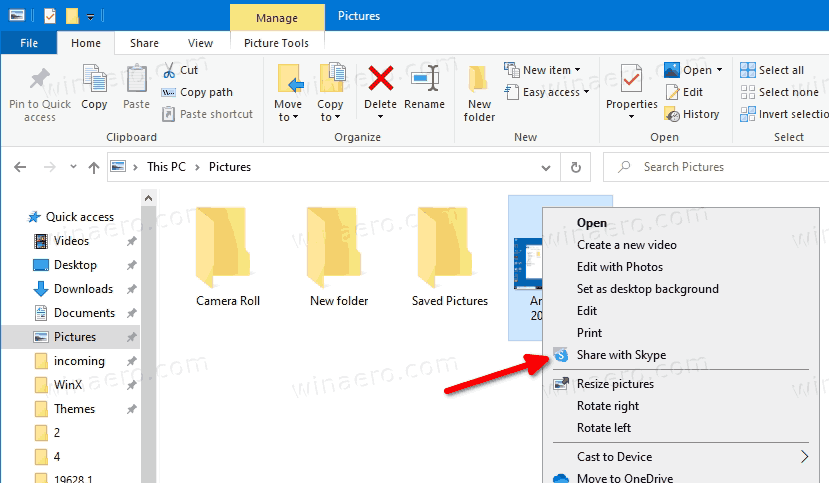
If you are using Skype only for call, this context menu might be redundant. In this case, you can remove it.
The methods are different for Store and Desktop apps. We will start with the Store app, as it comes pre-installed in Windows 10.
To Remove Share with Skype from Context Menu in Windows 10,
- Open the Registry Editor app.
- Go to the following Registry key.
HKEY_CLASSES_ROOTPackagedComClassIndex{776DBC8D-7347-478C-8D71-791E12EF49D8}. See how to go to a Registry key with one click. - On the left, right-click on the
{776DBC8D-7347-478C-8D71-791E12EF49D8}folder, and select Rename from the context menu.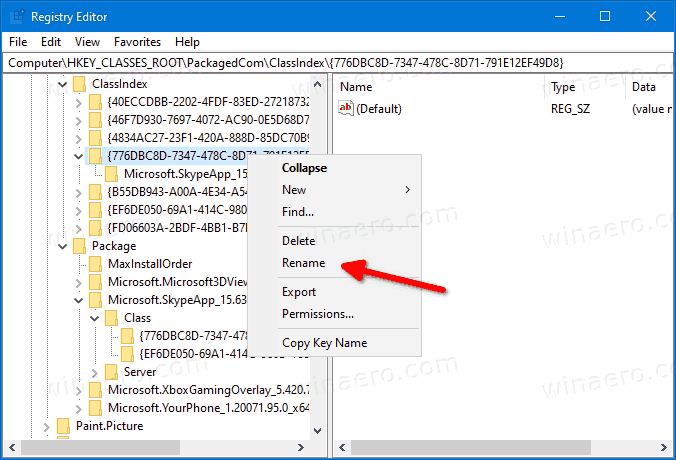
- Specify
-{776DBC8D-7347-478C-8D71-791E12EF49D8}as the new key name. (just add the minus sign to the folder name). 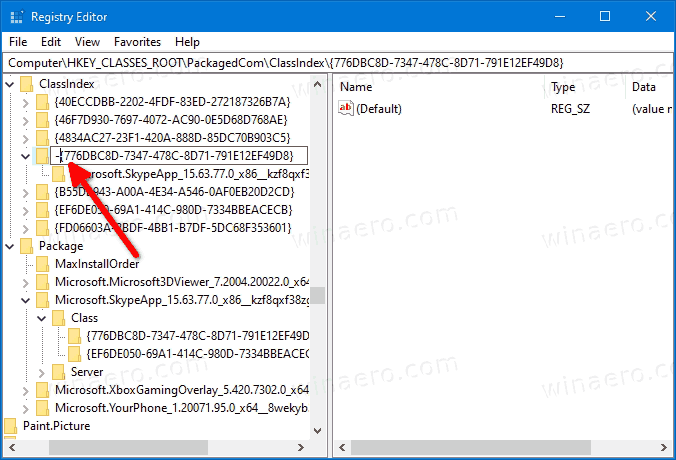
You are done.

You just renamed the key {776DBC8D-7347-478C-8D71-791E12EF49D8} to -{776DBC8D-7347-478C-8D71-791E12EF49D8} under the path HKEY_CLASSES_ROOTPackagedComClassIndex. To get the entry back, change the item name back from -{776DBC8D-7347-478C-8D71-791E12EF49D8} to {776DBC8D-7347-478C-8D71-791E12EF49D8}.
The Skype app may restore the above key after installing a newer version, so you may need to repeat the above steps to get rid of the context menu command again.
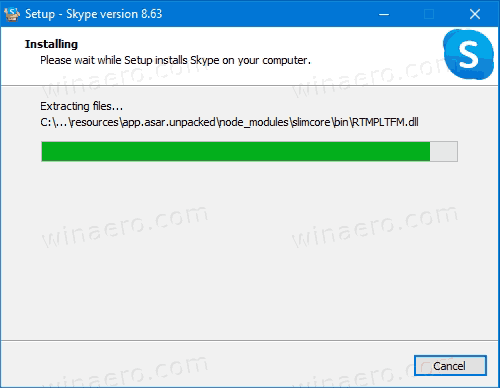
Now, let’s see how to do the same for the Desktop app.
It also adds a similar context menu entry. Check out the screenshot below.
Remove Share with Skype from Context Menu for the Skype Desktop app
- Open the Registry Editor app.
- Go to the following Registry key.
HKEY_CLASSES_ROOT*shellShareWithSkype. See how to go to a Registry key with one click. - On the right, create a new string value ProgrammaticAccessOnly.
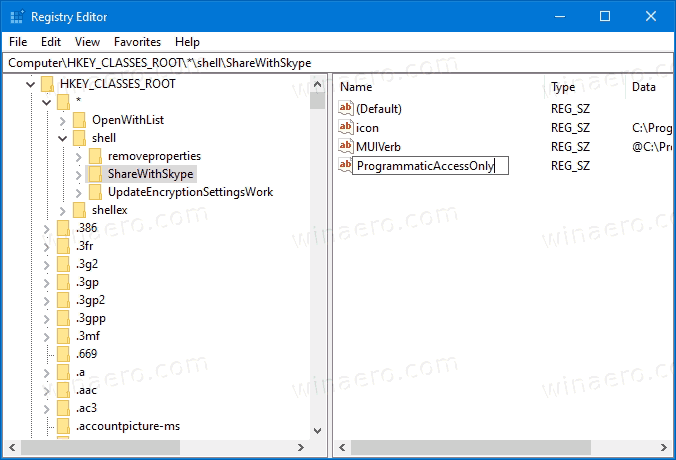
- Leave its value data empty.
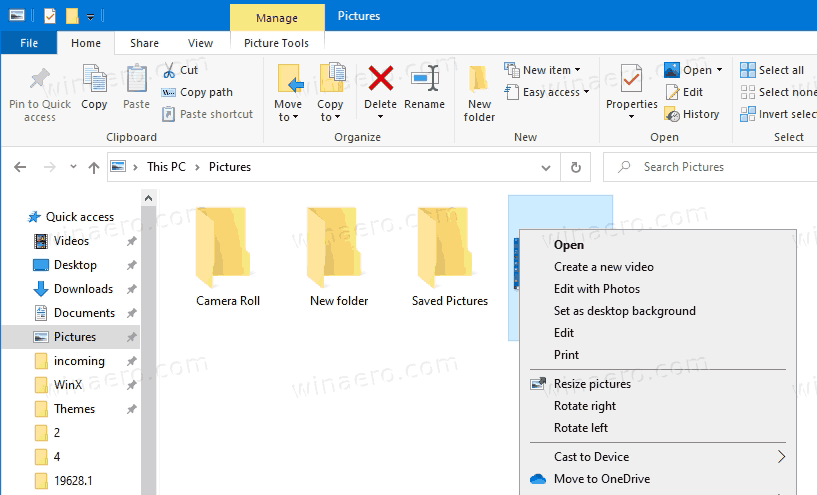
You are done. The Share with Skype entry created by the Skype desktop app will be instantly removed.
ProgrammaticAccessOnly is a special value that hides a context menu command. While installed apps can access such a ‘hidden’ entry when required, it remains invisible in the context menu to the user. By adding this value to the Registry, you сфт hide any of the context menu entries in Windows 10.
RECOMMENDED: Click here to fix Windows errors and optimize system performance
If you want to read more like this article, you can visit our Technology category.
if you want to watch Movies or Tv Shows go to Dizi.BuradaBiliyorum.Com for forums sites go to Forum.BuradaBiliyorum.Com


