#How to Disable User Account Control (UAC) on Windows
“#How to Disable User Account Control (UAC) on Windows”

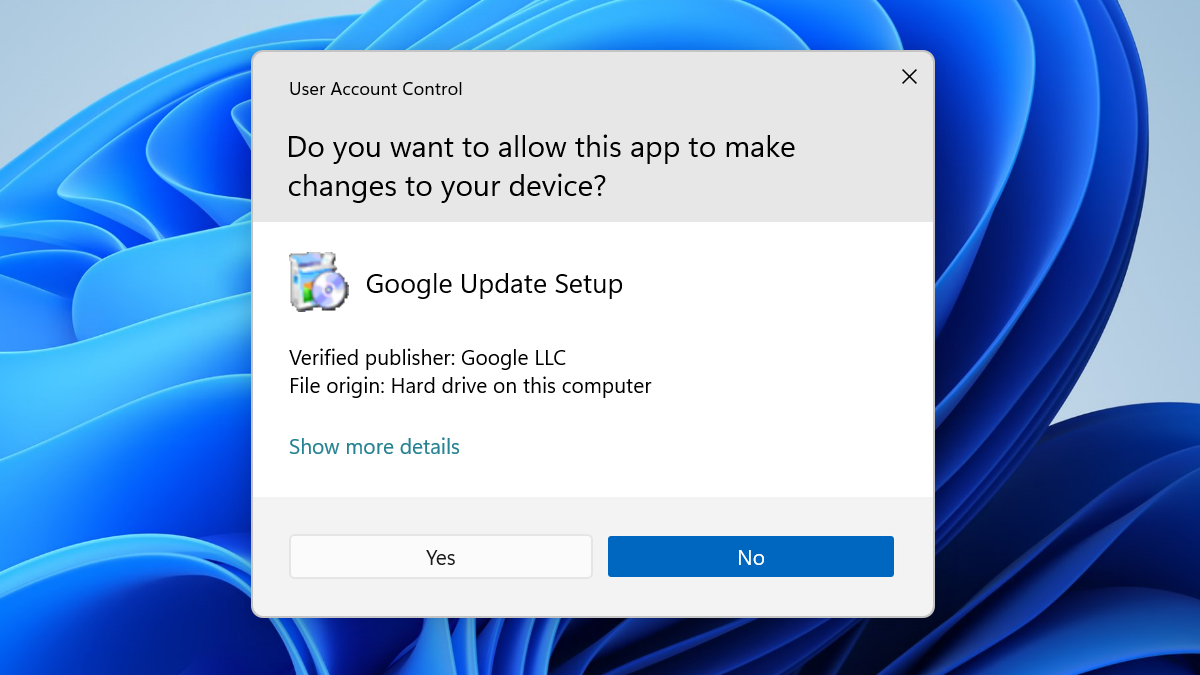
User Account Control is an important Windows security feature. If a running application wants full access to your system, it has to ask with a UAC prompt. If you disable UAC, all running applications can gain Administrator access without asking first.
All modern versions of Windows, including Windows 11, Windows 10, Windows 8, Windows 7, and Windows Vista have User Account Control, and it’s enabled by default. It’s included on Windows Server, too. The instructions here will let you disable UAC on any version of Windows. UAC options are found in the classic Control Panel, even on Windows 11 and Windows 10.
Warning: We recommend against disabling UAC unless you have a specific reason to do so. For example, you may want to temporarily disable UAC while troubleshooting a software issue. If you do disable UAC, we recommend re-enabling it as soon as possible. UAC prevents applications from gaining full Administrator access to your operating system and could help limit the damage malware can do on your PC.
First, open the UAC settings window. To do so, open your Start menu (by pressing the Windows key or clicking the Start button). Type “UAC” or “User Account Control” into the search box in the Start menu.
Click “Change User Account Control Settings” in the search results.

In the User Account Control Settings window, click and drag the slider to the bottom position, which is “Never Notify.” With this setting, applications will be able to request Administrator access to your system and will immediately be granted that access without asking you first.
Click “OK” to save your choice. You will have to agree to one final UAC prompt to confirm the change. It will take effect immediately after you do.

The UAC slider gives you four separate options for choosing User Account Control behavior on Windows. Here are the options you can choose from:
- Always notify me when: This option is even more strict than the default setting. Windows will show the standard UAC prompts when you install applications, for example. However, you will also have to agree to UAC prompts when you change Windows system settings. This ensures applications can’t silently modify operating system settings without asking you.
- Notify me only when apps try to make changes to my computer (default): This is the default UAC behavior. Windows will ask you for permission when you install applications or when those applications want full system access, but you won’t see UAC prompts when you change most Windows operating system settings.
- Notify me only when apps try to make changes to my computer (do not dim my desktop): This is the same as the default setting, but Windows will show you a UAC window over your normal desktop environment rather than a UAC window over a dimmed desktop environment. The dimmed desktop environment is actually a special, secure desktop that running applications can’t interfere with. You should only use this option if it takes your computer a long time to dim the desktop, which would likely be due to a hardware or driver issue.
- Never notify me when: Applications can gain UAC access without asking you. You will never see a UAC prompt requesting your permission or informing you UAC access was granted while the “Never notify” setting is activated. To fully disable UAC, this is the option you must select.
To re-enable UAC in the future, re-open the User Account Control Settings window, drag the slider back to the default position, and click “OK.” Changes to your UAC settings will take immediately; you don’t have to reboot.

Again, we strongly recommend against disabling UAC unless you have a particularly good reason to do so. While the feature was very obnoxious and noisy when it debuted on Windows Vista, it’s been much more reasonable since Windows 7 and it still works well on Windows 10 and Windows 11 today. You may see quite a few UAC prompts when setting up a computer and installing your software, but they hopefully shouldn’t be too frequent after that—and they’re an important security feature that puts you in control over what applications can do on your PC.
If you liked the article, do not forget to share it with your friends. Follow us on Google News too, click on the star and choose us from your favorites.
For forums sites go to Forum.BuradaBiliyorum.Com
If you want to read more like this article, you can visit our Technology category.