#Enable or Disable Indexing of Network Locations in Photos in Windows 10
Table of Contents
“#Enable or Disable Indexing of Network Locations in Photos in Windows 10”
Windows 10 ships with a Photos app which replaced the Windows Photo Viewer and Photo Gallery. Its tile is pinned to the Start menu. It comes with tight integration with Microsoft’s very own cloud solution, OneDrive. With the latest update, Windows 10 Photos has received the ability to index network locations for faster image rendering.
RECOMMENDED: Click here to fix Windows errors and optimize system performance
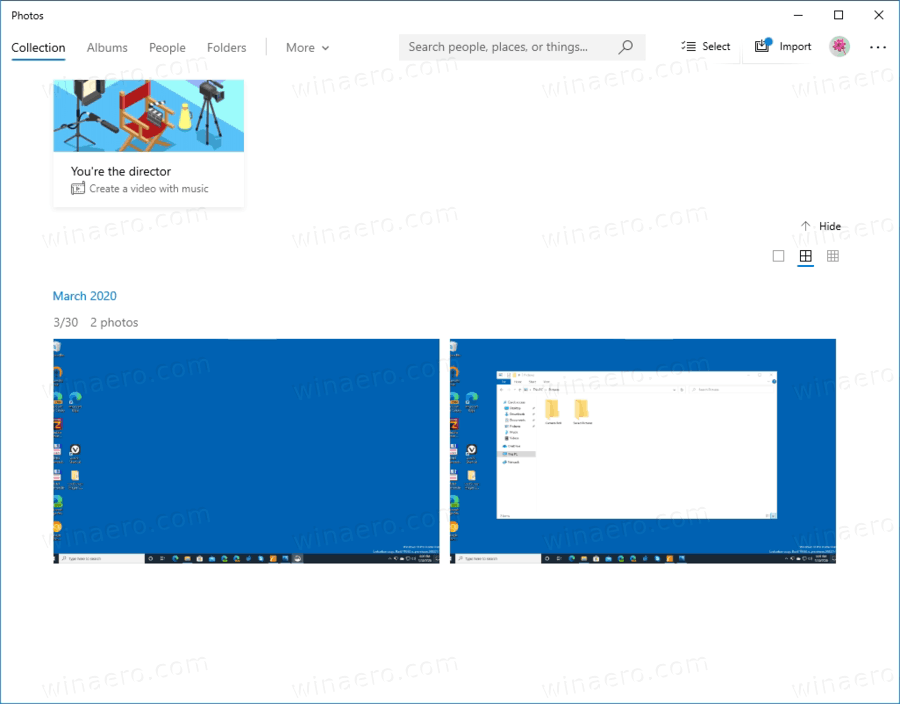
The built-in Photos app allows viewing images and performing basic editing. Its tile is pinned to the Start menu. Also, the app is associated with most image file formats out of the box. Photos offers very basic functionality to view images from the user’s local drive or from the OneDrive cloud storage.
Note: Interested users can restore the classic desktop app, Windows Photo Viewer.
The Photos app is included with Windows 10 by default. It receives updates automatically. If you have removed it or would like to upgrade it manually, navigate to this page on the Microsoft Store.
The Photos app comes with a set of 3D effects. The feature is supposed to allow users to add 3D objects and use advanced effects on them. See
Add 3D Effects to Images with Photos in Windows 10
When you save an image with 3D effects, the Photos app writes your work to a video file. It is using your video card (GPU) for hardware accelerated video encoding.
If you delete a file in the Photos app, the app displays a delete confirmation dialog (enabled by default) before the file and all its exact duplicates are moved to the Recycle Bin in Windows 10.
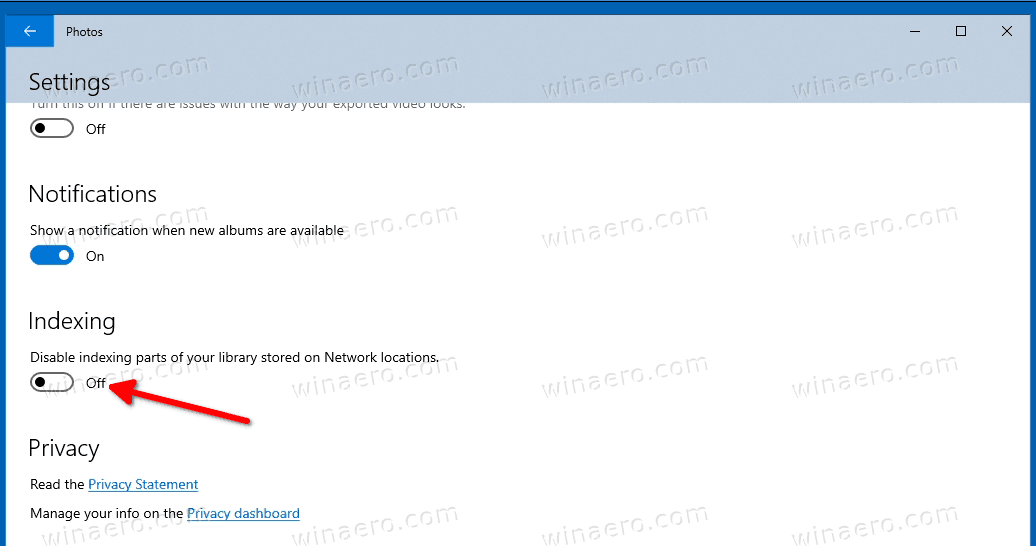
Starting in version 2020.20070.3003.0 it is possible to enable or disable Indexing for network locations in the image library to have them read faster by the Photos app. Here’s how to get this working.
- Open Photos. Its tile is pinned to the Start menu by default.
- Click the three dots menu button in the top right corner.
- Select the Settings command from the menu.

- Under Indexing, turn on or off (defaults) the Disable indexing parts of your library stored on Network locations option for what you want.
- You are done.
Note: Enabling the Indexing for network locations may negatively affect the app’s performance, as it needs to access a remote location to add the files store there to its indexing database.
Articles of interest
- Disable or Enable Delete Confirmation For Photos App in Windows 10
- Disable Linked Duplicates in Windows 10 Photos App
- Disable Hardware Acceleration in Windows 10 Photos app
- Crop Images with Photos in Windows 10
- Add Favorites in Photos in Windows 10
- Change Photos App Live Tile Appearance in Windows 10
- Enable Zoom with Mouse Wheel in Photos in Windows 10
- Backup and Restore Photos App options in Windows 10
- How to Tag People in Photos app in Windows 10
- Enable the Dark Theme in Photos in Windows 10
- Exclude OneDrive Images from Photos in Windows 10
- Set Photos As Screen Saver In Windows 10
- Disable Face Detection and Recognition in Photos in Windows 10
- Sign in or Sign out from Windows 10 Photos app
RECOMMENDED: Click here to fix Windows errors and optimize system performance
If you want to read more like this article, you can visit our Technology category.
if you want to watch Movies or Tv Shows go to Dizi.BuradaBiliyorum.Com for forums sites go to Forum.BuradaBiliyorum.Com